As the chill of winter sets in, there’s nothing more comforting than a steaming cup of hot cocoa. But what if you could make that experience even more magical? Enter the hot cocoa bomb—a delightful sphere of chocolaty goodness that transforms a simple cup of milk into a rich, creamy indulgence. In this article, we will explore everything you need to know about hot cocoa bombs, from ingredients to serving tips, ensuring you have the ultimate winter treat.
Introduction
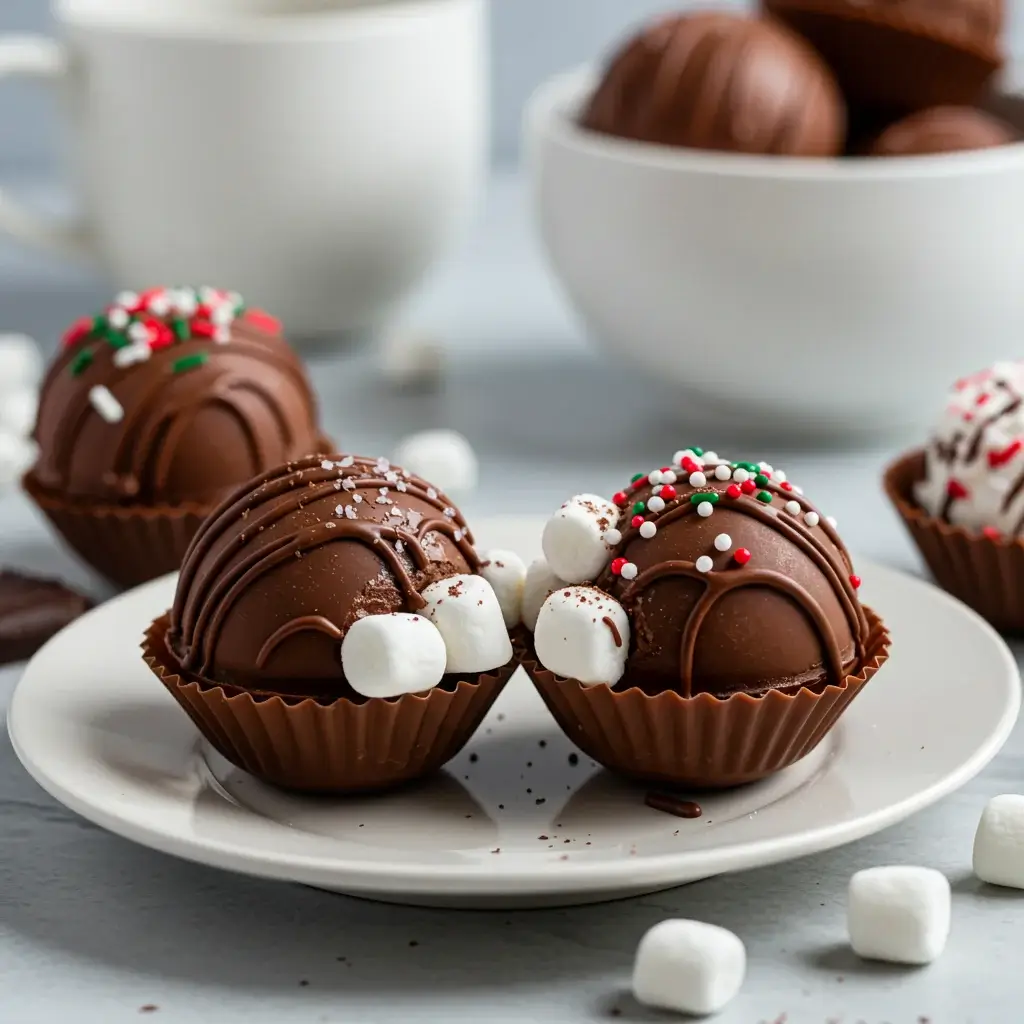
Hot cocoa bombs have taken the world by storm, becoming a viral sensation due to their mesmerizing preparation process and delicious taste. These chocolate spheres are not only a treat for your taste buds but also a feast for the eyes. When placed in a mug of hot milk, they melt away, releasing cocoa, marshmallows, and other delightful surprises hidden within. Perfect for cozy nights by the fire or as thoughtful gifts, hot cocoa bombs are a winter staple that you’ll want to master.
In this guide, we’ll walk you through the process of making your own hot cocoa bombs at home, ensuring you have all the tips and tricks needed for success.
Ingredients
Creating the perfect hot cocoa bomb requires the right ingredients. Here’s what you’ll need to get started:
- Chocolate: Choose high-quality chocolate chips or bars; milk, dark, or white chocolate all work well.
- Hot Cocoa Mix: Select your favorite cocoa mix for the filling.
- Mini Marshmallows: Essential for that classic hot cocoa experience.
- Optional Flavors: Peppermint bits, caramel chunks, or crushed candy canes for added flavor.
- Edible Glitter or Sprinkles: For decoration.
- Silicone Mold: Specifically designed for making chocolate spheres.
Instructions
Making hot cocoa bombs might seem daunting, but it’s a straightforward process if you follow these steps:
Step 1: Prepare the Chocolate Shells
- Melt the Chocolate: Gently melt your chocolate using a double boiler or microwave in 30-second intervals, stirring frequently to avoid burning.
- Coat the Molds: Use a spoon to spread the melted chocolate evenly inside each cavity of the silicone mold, ensuring a thick, even layer.
- Chill the Molds: Place the chocolate-coated molds in the refrigerator for about 10 minutes, or until the chocolate is firm.
- Apply a Second Layer: Repeat the coating process to strengthen the shells, then chill again.
Step 2: Assemble the Cocoa Bombs
- Remove Chocolate from Molds: Carefully pop the chocolate shells out of the molds.
- Fill the Shells: Add a spoonful of hot cocoa mix and a few mini marshmallows to half of the shells. You can also add any optional flavors.
- Seal the Bombs: Warm a plate in the microwave, then briefly press the edge of an empty shell onto the warm plate to slightly melt the rim. Quickly place it on top of a filled shell to seal the bomb.
- Smooth the Edges: Use additional melted chocolate to smooth and seal any gaps around the edges.
Step 3: Decorate
- Add Decorations: Drizzle melted chocolate over the top of the bombs and add edible glitter or sprinkles for a festive touch.
- Set the Decorations: Allow the decorated bombs to set at room temperature or in the fridge.
Nutrition Facts
Hot cocoa bombs are an indulgent treat, and understanding their nutritional content can help you enjoy them responsibly. Here’s a general breakdown of what you can expect per serving (one cocoa bomb):
- Calories: 200-250
- Total Fat: 10-15g
- Saturated Fat: 6-9g
- Cholesterol: 5-10mg
- Sodium: 20-30mg
- Total Carbohydrates: 25-30g
- Sugars: 20-25g
- Protein: 2-3g
Note: Nutritional values will vary based on specific ingredients and quantities used.
How to Serve
Serving hot cocoa bombs is as delightful as the process of making them. These charming treats not only look inviting but also create a magical experience when they are transformed into a steaming cup of hot cocoa. Here’s how to ensure the best experience when serving hot cocoa bombs:
1. Heat the Milk
The first step in serving your hot cocoa bomb is to heat your milk. The type of milk you choose can significantly affect the richness and creaminess of your hot cocoa. Here’s a breakdown of your options:
- Whole Milk: This is the classic choice for a rich and creamy texture. The higher fat content creates a luxurious mouthfeel that enhances the overall experience.
- 2% or 1% Milk: If you prefer a lighter option, 2% or even 1% milk can be used. While it will be less creamy than whole milk, it still offers a satisfying flavor.
- Non-Dairy Alternatives: There are many delicious plant-based options available, such as almond milk, oat milk, soy milk, or coconut milk. Each alternative brings its unique flavor and texture, so choose according to your preference.
To heat the milk, you can use a small saucepan on the stove over medium-low heat, stirring occasionally to prevent boiling. Alternatively, you can heat it in the microwave in a microwave-safe container, heating in 30-second increments until it reaches your desired warmth. Aim for approximately 160°F (70°C) for the best results, which is hot enough to melt the cocoa bomb but not so hot that it scalds.
2. Place the Bomb
Once your milk is heated to the perfect temperature, it’s time to prepare for the main event. Take a beautiful mug—this adds to the presentation and experience—and gently place a hot cocoa bomb at the bottom of the mug.
For added flair, consider using themed mugs depending on the season or occasion, such as festive mugs for the holidays or whimsical designs for a cozy gathering. The anticipation builds as you prepare to pour the hot milk over the bomb, making the experience even more enjoyable.
3. Pour the Milk
Now comes the most exciting part: pouring the hot milk over the cocoa bomb. Slowly and steadily pour the warmed milk directly over the bomb. As the milk cascades down, you’ll witness a delightful transformation—the outer shell of the bomb will start to melt, and the contents inside will begin to burst forth.
You can encourage the melting process by pouring the milk in a circular motion, ensuring that all areas of the cocoa bomb are reached. This not only enhances the visual appeal as the cocoa mix and marshmallows escape, but it also promotes a more uniform mixing of flavors.
Watch closely as the magic unfolds: the hot milk will engulf the bomb, and soon enough, you’ll see chocolate swirling and marshmallows floating to the surface—an irresistible sight!
4. Stir and Enjoy
After pouring the milk, take a spoon and give the mixture a gentle stir. This step is crucial for achieving the perfect blend of flavors. Stirring will help to combine the rich chocolate, smooth cocoa mix, and fluffy marshmallows into a harmonious drink. You may want to take your time with this step, ensuring that every last bit of chocolate and cocoa is incorporated into the milk.
Once stirred, take a moment to appreciate the aroma of your hot cocoa. The warm, inviting scent is part of the experience. Now, it’s time to savor the rich, warm flavors.
As you take your first sip, let the creamy, chocolaty goodness envelop your senses. The combination of melted chocolate, cocoa, and marshmallows creates a comforting and indulgent treat that’s perfect for cozy evenings, gatherings with friends, or simply a sweet escape from the day.
Optional Enhancements
To elevate your hot cocoa experience even further, consider these optional enhancements:
- Toppings: Add whipped cream, a sprinkle of cocoa powder, or crushed peppermint for an extra layer of flavor.
- Flavor Variations: Experiment with flavored syrups such as vanilla, caramel, or hazelnut for a unique twist.
- Garnishes: A few extra marshmallows or chocolate shavings on top can make your drink look even more enticing.
By following these steps, you’ll ensure that serving hot cocoa bombs is not just a task, but an enjoyable ritual that brings warmth and joy to those you share it with. So gather your friends and family, and prepare to indulge in this delightful, interactive treat!
Additional Tips
To elevate your hot cocoa bomb-making experience beyond the basics, here are some in-depth tips that can significantly enhance both the process and the final product:
Use Quality Ingredients
The foundation of an exceptional hot cocoa bomb lies in the quality of its ingredients. Opt for high-quality chocolate, ideally a couverture chocolate or a premium brand, as these types often have a higher cocoa butter content, resulting in a smoother melt and richer flavor. When selecting cocoa powder, choose unsweetened cocoa from a reputable brand to ensure a deep, authentic chocolate taste. Additionally, consider using flavored chocolates, such as dark, milk, or white chocolate, to create distinctive taste profiles. Remember to check the expiration dates on your ingredients, as fresh chocolate and cocoa will yield the best results.
Experiment with Flavors
One of the most delightful aspects of making hot cocoa bombs is the opportunity for creativity. Step outside the traditional flavor profiles and explore a variety of fillings and enhancements. Here are some ideas to get you started:
- Spices: Incorporate warm spices like cinnamon, nutmeg, or even a pinch of cayenne pepper for a hint of heat. These spices can add depth to the chocolate and create a comforting, seasonal flavor.
- Extracts: Use flavored extracts such as vanilla, peppermint, or almond to infuse your cocoa bombs with unique tastes. A few drops can drastically change the flavor profile.
- Fillings: Consider adding mini marshmallows, crushed cookies, or even caramel or peanut butter swirls inside your bombs. These fillings can create an exciting surprise when the cocoa bomb is dropped into hot milk.
- Citrus Zest: A hint of orange or lemon zest can brighten the chocolate flavors, making for a refreshing and unexpected twist.
Proper Storage
To maintain the integrity and flavor of your hot cocoa bombs, proper storage is crucial. After making your cocoa bombs, allow them to cool completely to room temperature to avoid condensation. Store them in an airtight container to keep out moisture, which can cause the chocolate to bloom and lose its glossy finish. It’s best to keep them at room temperature away from direct sunlight or heat sources. If you plan to store them for an extended period, consider refrigerating them; just be sure to let them come to room temperature before using, as this helps prevent condensation when they are exposed to warmer air.
Gift-Worthy Presentation
Homemade hot cocoa bombs not only taste delightful but can also be presented beautifully, making them perfect for gifting. Here are some creative presentation ideas:
- Cellophane Wrap: Individually wrap each cocoa bomb in colorful cellophane tied with a ribbon for a festive touch. This not only looks appealing but also keeps them protected.
- Decorative Boxes: Place your cocoa bombs in small, decorative boxes or tins, which can be lined with tissue paper or shredded paper for added aesthetics. This approach adds a layer of sophistication and makes it easy for recipients to store their treats.
- Personalized Tags: Attach a custom tag to each gift that includes brewing instructions, flavor descriptions, or even a heartfelt message. This personal touch enhances the experience for the recipient.
- Themed Sets: Consider creating themed sets of cocoa bombs. For example, a winter theme could include flavors like peppermint, gingerbread, and classic hot cocoa, beautifully packaged together for a seasonal gift.
By incorporating these additional tips into your hot cocoa bomb-making process, you can create not only delicious treats but also memorable experiences for yourself and those you share them with. Whether you’re enjoying them on a cozy evening at home or gifting them to friends and family, these enhancements will surely take your hot cocoa bombs to the next level.
FAQs
Q: Can I make hot cocoa bombs without a silicone mold? A: While silicone molds are ideal, you can try using small bowls lined with plastic wrap as a makeshift mold. However, silicone molds provide the best results.
Q: How long do hot cocoa bombs last? A: When stored properly, hot cocoa bombs can last up to two weeks. Ensure they are kept in a cool, dry place to maintain their quality.
Q: Can I use non-dairy milk for hot cocoa bombs? A: Absolutely! Almond milk, oat milk, or any other milk alternative can be used to make a delicious non-dairy hot cocoa.
Q: What if my chocolate shells crack? A: If you notice small cracks, use a bit of melted chocolate to seal them. For larger cracks, re-melt the chocolate and try again for a stronger shell.
Conclusion
Hot cocoa bombs are the perfect winter indulgence, combining the joy of crafting with the pleasure of sipping a warm, decadent drink. Whether you’re making them for yourself, your family, or as heartfelt gifts, these treats are sure to bring smiles and warmth to chilly days. By following this comprehensive guide, you’ll be well on your way to mastering the art of hot cocoa bombs and spreading cozy cheer all winter long.
Now that you’re equipped with all the knowledge and tips, it’s time to gather your ingredients and start creating. Enjoy the process, and most importantly, enjoy every delicious sip of your homemade hot cocoa bombs!
Print
Hot Cocoa Bombs Recipe
Ingredients
- Chocolate: Choose high-quality chocolate chips or bars; milk, dark, or white chocolate all work well.
- Hot Cocoa Mix: Select your favorite cocoa mix for the filling.
- Mini Marshmallows: Essential for that classic hot cocoa experience.
- Optional Flavors: Peppermint bits, caramel chunks, or crushed candy canes for added flavor.
- Edible Glitter or Sprinkles: For decoration.
- Silicone Mold: Specifically designed for making chocolate spheres.
Instructions
Step 1: Prepare the Chocolate Shells
- Melt the Chocolate: Gently melt your chocolate using a double boiler or microwave in 30-second intervals, stirring frequently to avoid burning.
- Coat the Molds: Use a spoon to spread the melted chocolate evenly inside each cavity of the silicone mold, ensuring a thick, even layer.
- Chill the Molds: Place the chocolate-coated molds in the refrigerator for about 10 minutes, or until the chocolate is firm.
- Apply a Second Layer: Repeat the coating process to strengthen the shells, then chill again.
Step 2: Assemble the Cocoa Bombs
- Remove Chocolate from Molds: Carefully pop the chocolate shells out of the molds.
- Fill the Shells: Add a spoonful of hot cocoa mix and a few mini marshmallows to half of the shells. You can also add any optional flavors.
- Seal the Bombs: Warm a plate in the microwave, then briefly press the edge of an empty shell onto the warm plate to slightly melt the rim. Quickly place it on top of a filled shell to seal the bomb.
- Smooth the Edges: Use additional melted chocolate to smooth and seal any gaps around the edges.
Step 3: Decorate
- Add Decorations: Drizzle melted chocolate over the top of the bombs and add edible glitter or sprinkles for a festive touch.
- Set the Decorations: Allow the decorated bombs to set at room temperature or in the fridge.
Nutrition
- Serving Size: one normal portion
- Calories: 250
- Sugar: 25g
- Sodium: 30mg
- Fat: 15g
- Saturated Fat: 9g
- Carbohydrates: 30g
- Protein: 3g
- Cholesterol: 10mg