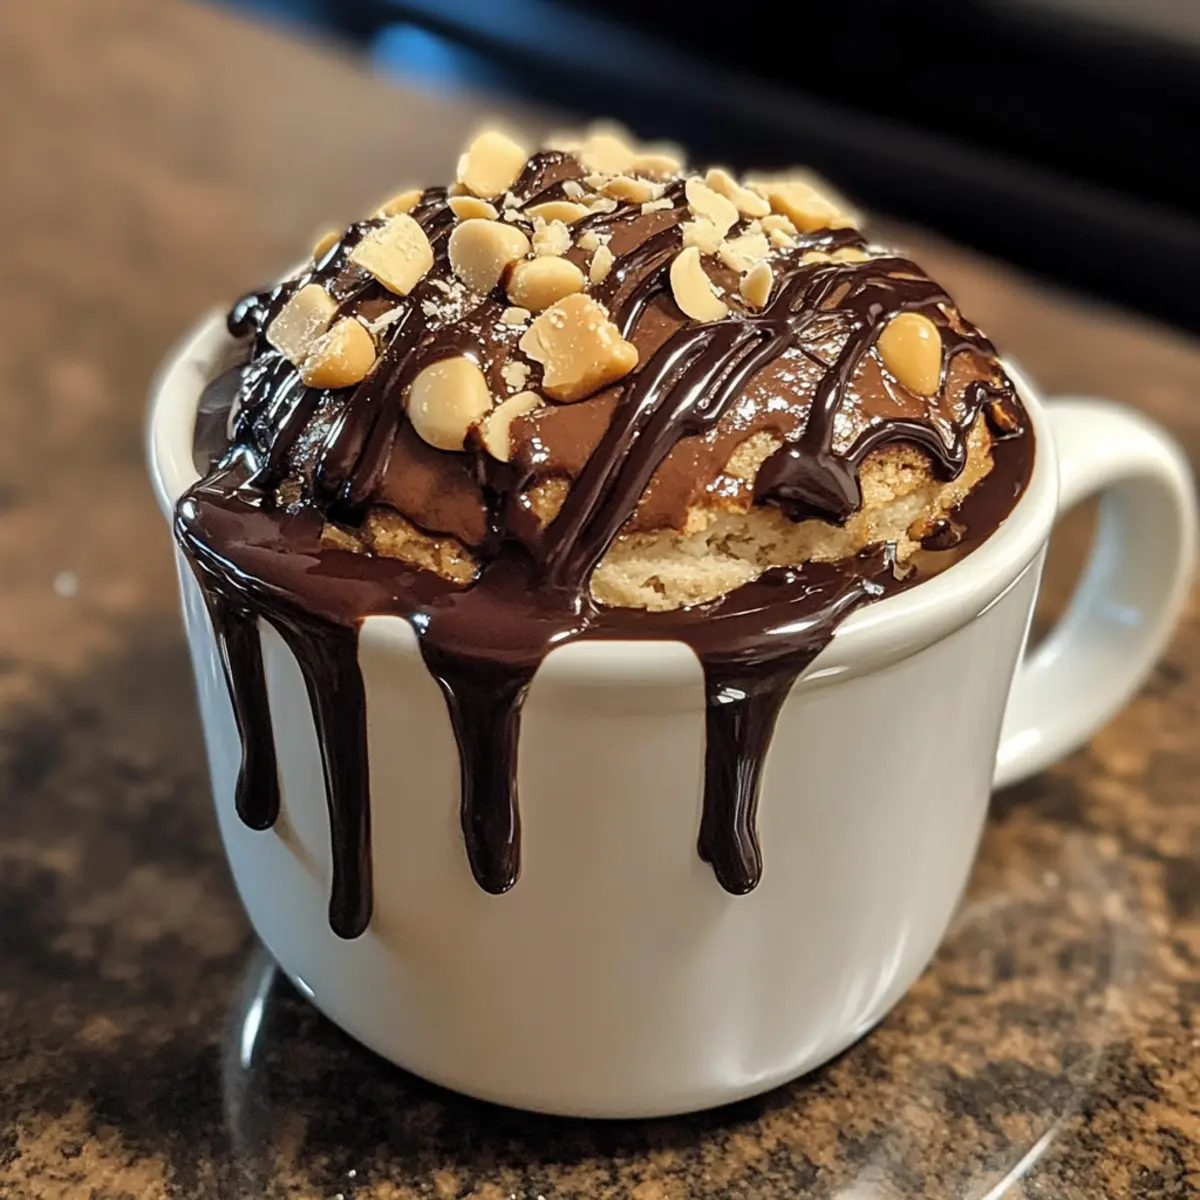
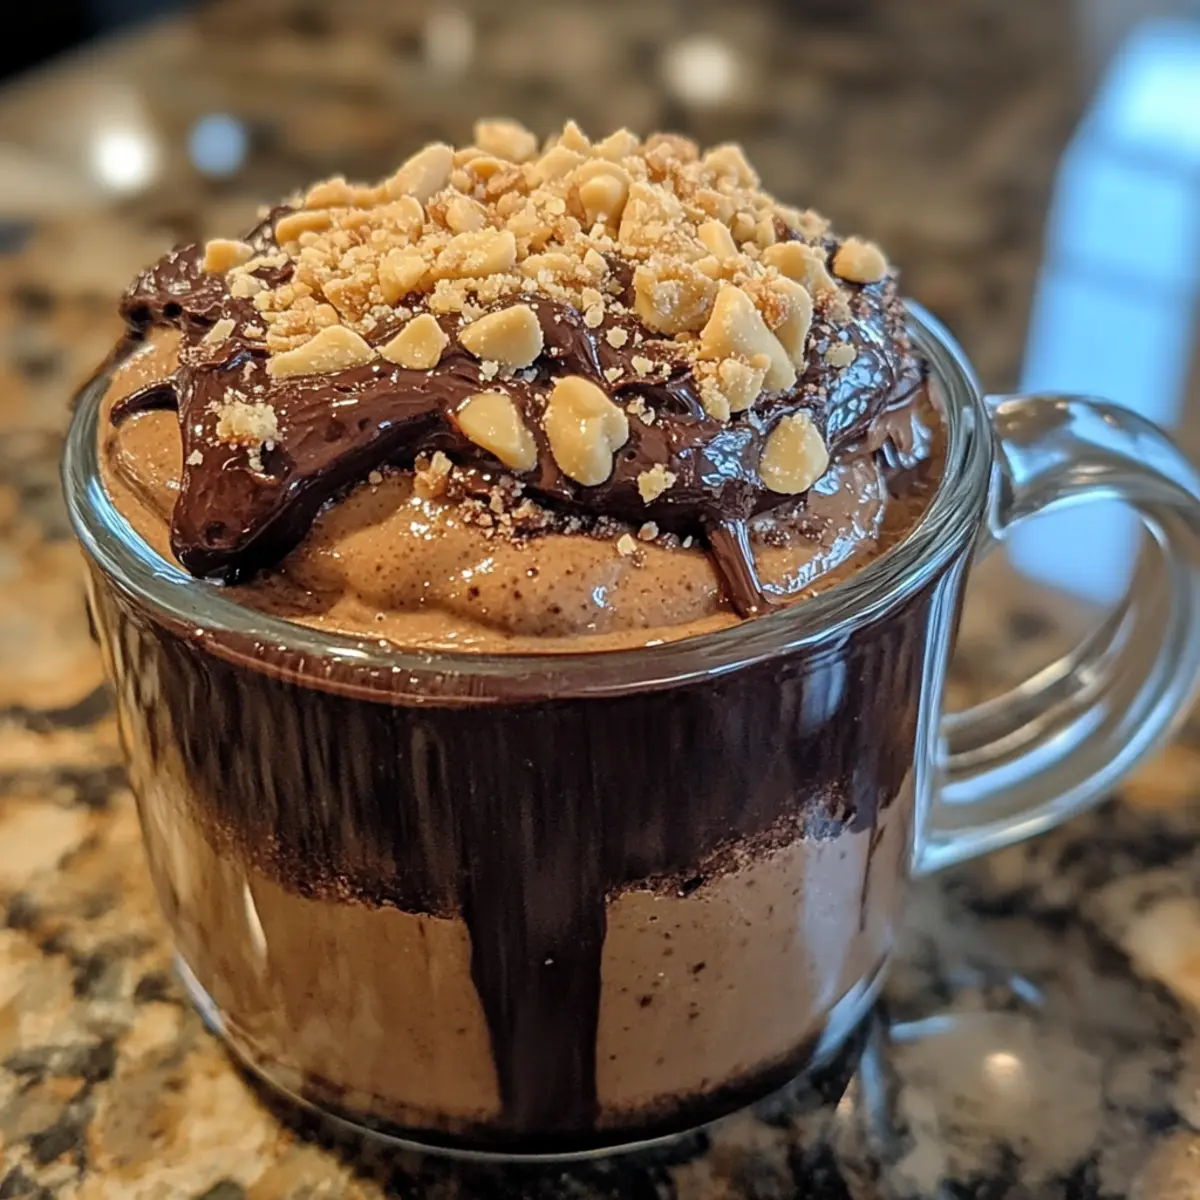
There’s a special kind of joy in whipping up a dessert that feels indulgent but comes together in minutes—and this Gluten-Free Peanut Butter Chocolate Mug Cake hits that sweet spot perfectly. Picture the warm, nutty aroma of peanut butter mingling with rich chocolate, filling your kitchen as you prepare a single-serving treat that’s both hassle-free and totally satisfying. Whether you’re someone who avoids gluten or just craving a quick homemade fix far from the usual fast-food slump, this mug cake has become my go-to for those moments when I want something cozy, comforting, and ridiculously easy. No complicated steps, no fancy equipment—just simple ingredients transforming into a fluffy, fudgy delight you can enjoy straight from the mug. Ready to turn snack time into a mini celebration? Let’s dive in!
Why Choose Gluten-Free Peanut Butter Chocolate Mug Cake Recipe?
Simplicity, this recipe requires just a few pantry staples and comes together in under five minutes, perfect for busy days. Rich, comforting flavors combine nutty peanut butter with deep, fudgy chocolate for a heavenly taste experience. Gluten-free goodness offers a safe and delicious option for those avoiding gluten. Single-serving size makes it an ideal guilt-free indulgence without leftovers. Minimal cleanup means more time enjoying your treat and less time in the kitchen.
Gluten-Free Peanut Butter Chocolate Mug Cake Recipe Ingredients
For the Mug Cake Batter
- Gluten-free flour blend – use a reliable all-purpose blend to keep the cake light and fluffy without gluten.
- Peanut butter – natural or creamy adds rich nuttiness and moistness to the cake.
- Cocoa powder – unsweetened for that deep chocolate flavor that balances the peanut butter perfectly.
- Sugar – granulated or brown sugar to add just the right touch of sweetness.
- Baking powder – a pinch to help the cake rise quickly in the microwave.
- Milk – dairy or your favorite plant-based milk works great for moisture and tenderness.
- Vanilla extract – a splash to enhance the warm, inviting aroma of the mug cake.
- Salt – just a pinch to brighten and balance sweetness.
Optional Mix-Ins and Toppings
- Chocolate chips – stir in a few for gooey pockets of melted chocolate goodness.
- Chopped peanuts – sprinkle on top for a delightful crunch contrast.
- Whipped cream or yogurt – a dollop for extra indulgence and creaminess after cooking.
This gluten-free peanut butter chocolate mug cake recipe is your ticket to a quick, comforting homemade delight that satisfies cravings without fuss!
How to Make Gluten-Free Peanut Butter Chocolate Mug Cake Recipe
For the Batter:
- Combine Dry Ingredients: In a microwave-safe mug, whisk gluten-free flour, cocoa powder, sugar, baking powder, and salt until evenly mixed.
- Stir in Peanut Butter: Add peanut butter, milk, and vanilla extract, stirring until a smooth, lump-free batter forms.
- Add Mix-Ins: Gently fold in chocolate chips or chopped peanuts for gooey chocolate pockets and delightful crunch.
- Microwave: Cook on high power for 60–90 seconds, watching as the cake puffs up and stays soft and fudgy.
- Check Doneness: Let rest a few seconds, then gently press the center—it should spring back slightly and remain moist.
Optional: Top with a sprinkle of sea salt or a dollop of whipped cream.
Exact quantities are listed in the recipe card below.
Variations & Substitutions for Gluten-Free Peanut Butter Chocolate Mug Cake
Feel free to get creative and make this delightful mug cake your own with these fun variations!
-
Nut-Free: Substitute peanut butter with sunflower seed butter for a safe and nut-free alternative that still provides creaminess.
-
Sugar-Free: Use a sugar substitute like erythritol or stevia for a delicious, guilt-free treat that won’t spike your blood sugar.
-
Chocolate Lovers: Boost the chocolate flavor by melting dark chocolate into the batter or topping with chocolate syrup for an indulgent finish.
-
Flavor Twist: Add a dash of cinnamon or a pinch of instant coffee to enhance the depth of flavor, making each bite irresistibly aromatic.
-
Banana Bliss: Mash half a banana and mix it in for natural sweetness and moisture; it pairs beautifully with peanut butter and chocolate!
For a fun topping, try adding sliced bananas on top after cooking. The combined flavors create a delightful, creamy texture that makes the dish extra special.
-
Extra Crunch: Mix in a tablespoon of granola or crushed biscuits before microwaving to introduce delightful crunchiness in every bite.
-
Vegan: Substitute regular milk with almond or oat milk, and ensure that your chocolate chips are dairy-free for a completely plant-based treat.
No matter how you choose to customize this mug cake, each variation promises a cozy, comforting experience that satisfies your sweet cravings!
How to Store and Freeze Gluten-Free Peanut Butter Chocolate Mug Cake
Room Temperature: Store leftover mug cake in an airtight container at room temperature for up to 1 day. Reheat in the microwave for a few seconds to enjoy it warm again.
Fridge: If you have more than one portion, keep in the fridge for up to 3 days. Ensure it’s in a tightly sealed container to maintain moisture and flavor.
Freezer: Wrap portions tightly in plastic wrap, then place in a freezer-safe bag. Keep for up to 1 month; thaw in the fridge before reheating.
Reheating: To reheat from frozen, microwave for about 30-45 seconds. This gluten-free peanut butter chocolate mug cake recipe is best enjoyed warm!
Make Ahead Options
These Gluten-Free Peanut Butter Chocolate Mug Cakes are perfect for meal prep enthusiasts! You can mix the dry ingredients (gluten-free flour, cocoa powder, sugar, baking powder, and salt) and store them in an airtight container for up to 3 days. This way, when those sweet cravings hit, you can whip up a delicious treat in no time. Just add the wet ingredients (peanut butter, milk, and vanilla extract) to the pre-measured mixture in your mug, stir until smooth, and microwave for 60–90 seconds. For the best quality, avoid adding the peanut butter until you’re ready to cook; this ensures the cake maintains its fluffy texture. With these simple make-ahead strategies, you’ll enjoy a warm, indulgent dessert with minimal effort!
Expert Tips for Gluten-Free Peanut Butter Chocolate Mug Cake Recipe
- Use Fresh Ingredients: Always check that your gluten-free flour and baking powder are fresh to ensure proper rise and a tender crumb in your mug cake.
- Avoid Overcooking: Microwave times vary; cook just until set and springy to keep the cake moist and fudgy, preventing dryness.
- Mix Thoroughly: Whisk dry ingredients well before adding wet to avoid lumps and guarantee even flavor distribution in your batter.
- Choose Natural Peanut Butter: Opt for natural or creamy peanut butter without added sugars for the best rich, nutty flavor and smooth texture.
- Customize Carefully: Adding mix-ins like chocolate chips enhances taste but keep quantities moderate to avoid weighing down the cake.
- Keyword Focus: When making this gluten-free peanut butter chocolate mug cake recipe, following these tips helps create a perfectly balanced, quick homemade treat.
What to Serve with Gluten-Free Peanut Butter Chocolate Mug Cake?
Elevate your cozy dessert experience by pairing this indulgent mug cake with delightful accompaniments that enhance its rich flavors.
-
Vanilla Ice Cream: A scoop of vanilla ice cream melts beautifully over the warm cake, creating a divine contrast of temperatures and textures. The creamy sweetness complements the rich chocolate.
-
Fresh Berries: Strawberries or raspberries add a splash of color and a refreshing tartness that cuts through the richness. Their natural juiciness enhances every bite, offering a burst of vibrant flavor.
-
Chocolate Sauce: Drizzling warm chocolate sauce over the cake amplifies the chocolate experience. It creates an indulgent, gooey layer that elevates your treat to a whole new level.
-
Chopped Nuts: Sprinkle with chopped peanuts or almonds for a satisfying crunch. The added texture not only enhances the cake’s nutty flavor but also makes each mouthful even more enjoyable.
-
Coffee or Espresso: A warm cup of coffee or a shot of espresso balances the sweetness beautifully, providing a cozy drink to sip alongside your decadent dessert.
-
Whipped Cream: A dollop of freshly whipped cream adds a light, airy texture that contrasts the warm, fudgy cake. It’s a classic pairing that feels indulgent yet effortlessly simple.
Gluten-Free Peanut Butter Chocolate Mug Cake Recipe FAQs
How do I know if my peanut butter is good for this recipe?
Always choose smooth or natural peanut butter without added sugars or oils for the best texture and flavor. If it’s oily on top or has dark spots all over, it’s time to grab a fresh jar.
What’s the best way to store leftover mug cake?
For a single mug cake, storing it in an airtight container at room temperature for up to 24 hours works well. If you want to keep it longer, refrigerate tightly covered for 3 days to lock in moisture and freshness.
Can I freeze this gluten-free peanut butter chocolate mug cake?
Absolutely! Wrap your cooled mug cake tightly in plastic wrap, then place it in a freezer-safe bag or container. Freeze for up to 1 month. When ready, thaw it overnight in the fridge, then microwave gently for 30-45 seconds to enjoy that warm, fudgy goodness.
Why did my cake turn out dry or dense?
This often happens because of overcooking or using old baking powder. Microwaves vary—start with 60 seconds and check doneness; the cake should be springy but moist. Also, make sure to whisk ingredients thoroughly to avoid uneven texture.
Is this mug cake safe for people with nut allergies or pets?
Since peanut butter is a main ingredient, it’s not safe for anyone with nut allergies. Also, chocolate and peanuts can be harmful to pets, so keep this treat strictly for human enjoyment. For allergies, try substituting peanut butter with sunflower seed butter, but note the flavor difference.
Easy Gluten-Free Peanut Butter Chocolate Mug Cake Recipe to Satisfy Cravings
Ingredients
Equipment
Method
- In a microwave-safe mug, whisk gluten-free flour, cocoa powder, sugar, baking powder, and salt until evenly mixed.
- Add peanut butter, milk, and vanilla extract, stirring until a smooth, lump-free batter forms.
- Gently fold in chocolate chips or chopped peanuts for gooey chocolate pockets and delightful crunch.
- Cook on high power for 60–90 seconds, watching as the cake puffs up and stays soft and fudgy.
- Let rest a few seconds, then gently press the center—it should spring back slightly and remain moist.