


Introduction
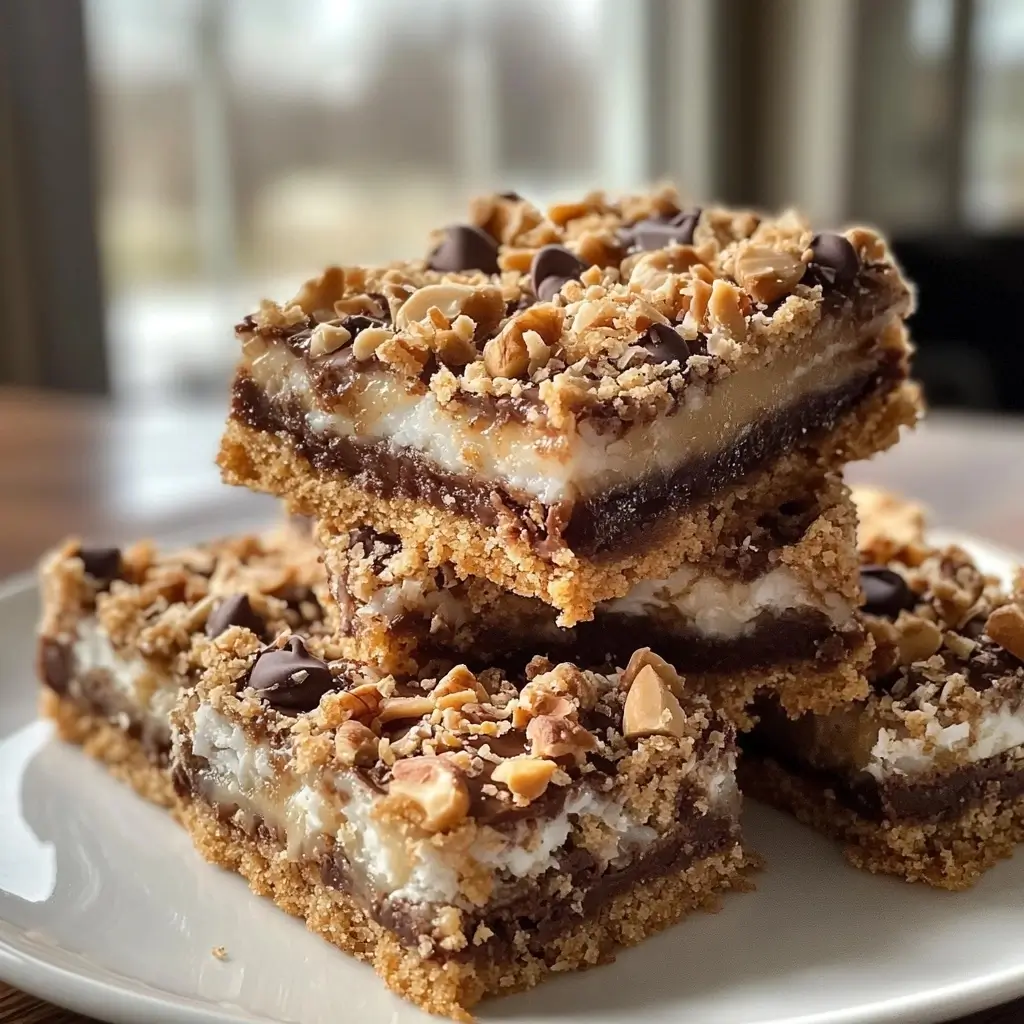
Are you in search of a dessert that is simple to make yet irresistibly delicious? Look no further than 7 Layer Bars! Known for their rich flavors and delightful textures, these bars are a favorite among dessert enthusiasts. Whether you’re hosting a family gathering or looking for a sweet treat to enjoy with your afternoon coffee, 7 Layer Bars are the perfect solution. This comprehensive guide will walk you through everything you need to know to make these delectable bars at home, including the ingredients, step-by-step instructions, nutrition facts, and more.
Ingredients
Before you begin, gather the following ingredients to ensure your baking process is smooth and efficient:
- 1 cup graham cracker crumbs
- 1/2 cup unsalted butter, melted
- 1 cup sweetened shredded coconut
- 1 cup chocolate chips (dairy-free if preferred)
- 1 cup chopped nuts (walnuts or pecans)
- 1 can (14 oz) sweetened condensed milk (dairy-free optional)
- 1 cup butterscotch chips (optional)
These ingredients combine to create layers of flavor and texture, from the crunchy crust to the gooey middle and the nutty, chocolatey top.
Instructions
Follow these simple steps to create your own batch of 7 Layer Bars:
- Preheat your oven to 350°F (175°C).
- In a bowl, mix the graham cracker crumbs and melted butter until well combined. Press the mixture into the bottom of a 9×13 inch baking dish to form a crust.
- Evenly layer the shredded coconut over the crust, ensuring complete coverage.
- Sprinkle the chocolate chips, chopped nuts, and butterscotch chips (if using) evenly over the coconut layer.
- Pour the sweetened condensed milk evenly over all the layers, ensuring it covers the entire surface.
- Bake in the preheated oven for 25-30 minutes, or until the top is golden brown.
- Allow the bars to cool completely in the baking dish before cutting them into squares.
Nutrition Facts
Understanding the nutritional content of your food is essential, especially for those with dietary restrictions or specific health goals. Here’s a general breakdown of the nutrition facts for 7 Layer Bars, per serving:
- Calories: Approximately 300-350 kcal
- Carbohydrates: 40-45g
- Protein: 4-5g
- Fat: 15-20g
- Fiber: 2-3g
- Sugar: 25-30g
Keep in mind that the nutritional values can vary based on the specific brands and types of ingredients used, such as dairy-free options.
How to Serve
7 Layer Bars are incredibly versatile and can be served in various ways, making them suitable for a wide range of occasions and preferences. Below are some detailed suggestions to enhance your serving experience:
As a Dessert
One of the most popular ways to enjoy 7 Layer Bars is as a delightful dessert. Their rich, layered texture and combination of flavors make them an irresistible end to any meal. To elevate the dessert experience, consider pairing the bars with a scoop of creamy vanilla ice cream. The cold, smooth ice cream contrasts beautifully with the warm, gooey layers of the bars, creating a delightful interplay of temperatures and textures. For added flair, drizzle warm chocolate or caramel sauce over the top, or sprinkle with crushed nuts or whipped cream for an indulgent finish. You can also serve them with fresh berries or a dollop of fruit compote to introduce a refreshing tartness that complements the sweetness of the bars.
For Parties
7 Layer Bars are an excellent choice for parties and gatherings, thanks to their ability to be easily cut into small, bite-sized pieces. When preparing for a gathering, consider presenting the bars on a decorative platter or cake stand to attract your guests’ attention. You can enhance the presentation by garnishing the platter with fresh mint leaves or edible flowers, adding a pop of color and sophistication. Additionally, these bars can be paired with a variety of dips or sauces, such as a sweet cream cheese dip or a rich chocolate ganache, allowing guests to customize their experience. They are perfect as finger food, allowing guests to mingle and snack without the need for utensils, making them a convenient and enjoyable addition to any party spread.
With Coffee or Tea
For those who enjoy a midday pick-me-up, serving 7 Layer Bars with coffee or tea is a delightful option. The rich flavors of the bars pair wonderfully with the boldness of coffee or the soothing qualities of tea. Consider offering a selection of beverages, such as a robust dark roast, a frothy cappuccino, or a fragrant herbal tea, to complement the sweetness of the bars. You can also create a cozy coffee or tea station where guests can customize their drinks with cream, sugar, or flavored syrups, allowing them to tailor their experience to their personal preferences. This pairing is perfect for brunch gatherings, afternoon tea, or even as a comforting treat during a quiet moment at home.
Gift Option
7 Layer Bars also make for a thoughtful and delicious homemade gift. Whether for a birthday, holiday, or just to show appreciation, these bars can be beautifully packaged to delight any recipient. To prepare them as gifts, consider wrapping each bar individually in decorative paper or clear cellophane, securing them with a ribbon or twine for an elegant touch. Alternatively, you can place several bars in a festive box or tin, lining the container with colorful tissue paper for added flair. To personalize the gift, attach a handwritten note or tag that includes the ingredients or a heartfelt message. This thoughtful gesture not only showcases your baking skills but also provides a delightful treat that friends and family will cherish.
Conclusion
The versatility of 7 Layer Bars allows them to shine in various settings, whether as a decadent dessert, a delightful snack for gatherings, a comforting companion to your favorite beverage, or a heartfelt gift. With a little creativity and attention to presentation, you can elevate this beloved treat into a memorable experience for yourself and your guests.
Additional Tips for Perfect 7 Layer Bars
To ensure your 7 Layer Bars turn out perfectly every time, consider these additional tips that enhance both the preparation process and the final results:
Lining the Baking Dish
One of the simplest yet most effective tips for baking 7 Layer Bars is to line your baking dish with parchment paper. This step not only makes for easy removal of the bars once they are baked but also simplifies cleanup significantly. When you line the dish, make sure to leave some overhang on the sides. This creates convenient “handles” that you can use to lift the entire slab of bars out of the dish once they have cooled. If parchment paper isn’t available, you can also use aluminum foil, but be sure to coat it with cooking spray to prevent sticking.
Pressing the Crust
Creating a sturdy base for your 7 Layer Bars is crucial, and how you press the crust can make all the difference. After mixing your crust ingredients, use the back of a spoon or the bottom of a measuring cup to press the mixture firmly and evenly into the bottom of the lined baking dish. This not only helps the crust hold together better during baking but also ensures even cooking. Aim for a thickness of about 1/4 inch; if it’s too thick, the bars may not cook through, and if it’s too thin, they may crumble easily. Take your time with this step— a well-pressed crust is the foundation of a successful bar.
Customizing Layers
One of the joys of making 7 Layer Bars is the ability to customize the layers according to your tastes or dietary preferences. While the classic recipe includes sweetened condensed milk, chocolate chips, and coconut, feel free to experiment! Consider substituting the traditional semi-sweet chocolate chips with dark chocolate, milk chocolate, or even butterscotch chips for a different flavor profile. You can also swap out the nuts—try pecans, walnuts, or even sunflower seeds for a nut-free option. Adding toppings such as white chocolate chips, peanut butter chips, or dried fruits like cranberries or cherries can also elevate the bars and make them uniquely yours. This customization not only caters to personal preferences but also makes it easier to adapt the recipe for various occasions or dietary restrictions.
Cooling Completely
Patience is key when it comes to cutting and serving your 7 Layer Bars. After baking, it’s essential to allow the bars to cool completely in the baking dish. This cooling process can take anywhere from 30 minutes to an hour, depending on your kitchen temperature and the size of the dish. Cooling allows the layers to set properly, ensuring that they hold their shape when sliced. If you’re in a hurry, you can speed up the cooling process by placing the dish in the refrigerator for about 15-20 minutes. However, avoid cutting them while they are still warm, as this can lead to messy, crumbly pieces that fail to showcase the beautiful layers. Once cooled, use a sharp knife to cut them into squares or rectangles, wiping the knife clean between cuts for neat edges.
Storing Your Bars
To keep your 7 Layer Bars fresh and delicious, consider how you store them. If you have leftovers (which is rare!), allow the bars to cool completely, then store them in an airtight container at room temperature for up to a week. For longer storage, you can refrigerate them, where they will last for up to two weeks. If you want to keep them even longer, consider freezing them. Wrap individual bars in plastic wrap and then place them in a freezer-safe container or bag. When you’re ready to enjoy them, simply thaw them at room temperature or pop them in the microwave for a few seconds to regain that gooey goodness.
By following these tips, you can elevate your baking experience and ensure that your 7 Layer Bars are not only beautiful but also deliciously satisfying every time you make them. Happy baking!
FAQs
1. Can I make 7 Layer Bars ahead of time?
Absolutely! One of the great things about 7 Layer Bars is their ability to maintain flavor and texture even when made a day in advance. To prepare them ahead of time, simply follow the recipe as usual, allowing the bars to cool completely after baking. Once cooled, store them in an airtight container at room temperature for optimal freshness. If you want to keep them for a longer period, you can refrigerate them. Storing in the refrigerator can enhance the flavors as they meld together, but be sure to let them come to room temperature for a few minutes before serving to ensure the best taste and texture. For added convenience, consider cutting the bars into squares before storing; this makes it easy to grab a piece whenever you have a craving!
2. Are there dairy-free options for this recipe?
Yes, there are excellent dairy-free alternatives for those who have dairy allergies or prefer to follow a dairy-free diet. For the chocolate layer, look for dairy-free chocolate chips, which are commonly made from ingredients like almond or soy milk and can be found at most grocery stores. Additionally, you can substitute the sweetened condensed milk with a dairy-free version available in stores, or you can make your own using coconut milk and a sweetener of your choice. By using these alternatives, you can enjoy the same delicious, gooey texture and rich flavor without the dairy, making this treat accessible for everyone.
3. Can I freeze 7 Layer Bars?
Yes, 7 Layer Bars freeze exceptionally well, making them a perfect option for meal prep or for preserving leftovers. To freeze, first allow the bars to cool completely. Then, wrap them individually in plastic wrap or aluminum foil to prevent freezer burn and to maintain their flavor. Once wrapped, place them in a freezer-safe container or a resealable freezer bag to save space and keep them organized. They can be stored in the freezer for up to three months. When you’re ready to enjoy a bar, simply remove the desired amount from the freezer and let them thaw at room temperature for about 30 minutes, or you can microwave them for a few seconds for a warm treat. Just be cautious not to overheat them, as this could change their texture.
4. How should I store leftover bars?
To ensure your leftover 7 Layer Bars stay fresh and delicious, store them in an airtight container at room temperature. They will generally maintain their quality for up to a week when kept in this manner. If you find that you won’t be able to consume them within this time frame, refrigeration is a great option that can extend their shelf life. When stored in the fridge, 7 Layer Bars can remain fresh for up to two weeks. Just remember to allow them to sit at room temperature for a few minutes before serving, as this will help restore their original chewy texture and enhance the flavor profile. For added convenience, you can layer parchment paper between the bars in the container to prevent sticking and make it easier to separate them when you want to indulge in a sweet treat.
Conclusion
7 Layer Bars are a classic dessert that combines simplicity with rich, indulgent flavors. With straightforward ingredients and easy preparation, they make the perfect addition to any dessert repertoire. Whether you’re a seasoned baker or a novice in the kitchen, these bars are sure to impress friends and family alike. Follow this guide, customize to your liking, and enjoy the delicious results of your efforts. Happy baking!


